To use Hostinger, sign up, choose a plan, and follow the setup instructions. Manage your website through the intuitive control panel.
Hostinger is a popular web hosting provider known for its affordability and user-friendly interface. It offers various hosting plans to suit different needs, from shared hosting to VPS and cloud hosting. Users appreciate its fast loading times, reliable uptime, and comprehensive customer support.
The platform also provides a straightforward website builder, making it easy for beginners to create professional-looking sites. With an intuitive control panel, you can manage domains, emails, and other essential features effortlessly. Hostinger also includes security measures, like SSL certificates and regular backups, ensuring your website remains secure. Overall, Hostinger is an excellent choice for anyone looking to establish a strong online presence.
Credit: www.hostinger.com
Getting Started
Starting with Hostinger is simple and quick. This guide will help you create an account, choose the right hosting plan, and get your website up and running smoothly.
Creating An Account
First, visit the Hostinger website. Look for the “Get Started” or “Sign Up” button. Click on it to begin.
Next, you’ll need to provide your email address and create a password. Make sure to use a strong password for security.
After entering your details, click on the “Sign Up” button. You will receive a confirmation email. Open it and click the verification link to activate your account.
Now you have successfully created your Hostinger account!
Choosing A Hosting Plan
Hostinger offers various hosting plans to suit different needs. Choose the one that fits your requirements.
| Plan | Features | Best For |
|---|---|---|
| Single Shared Hosting | 1 Website, 30 GB SSD Storage, 1 Email Account | Beginners |
| Premium Shared Hosting | Unlimited Websites, 100 GB SSD Storage, Free Domain | Growing Websites |
| Business Shared Hosting | Unlimited Websites, 200 GB SSD Storage, Daily Backups | Small Businesses |
To choose a plan, click on the “Select” button under your desired plan. You will be directed to the payment page.
Complete the payment process to activate your hosting plan. Now, you’re all set to start building your website!
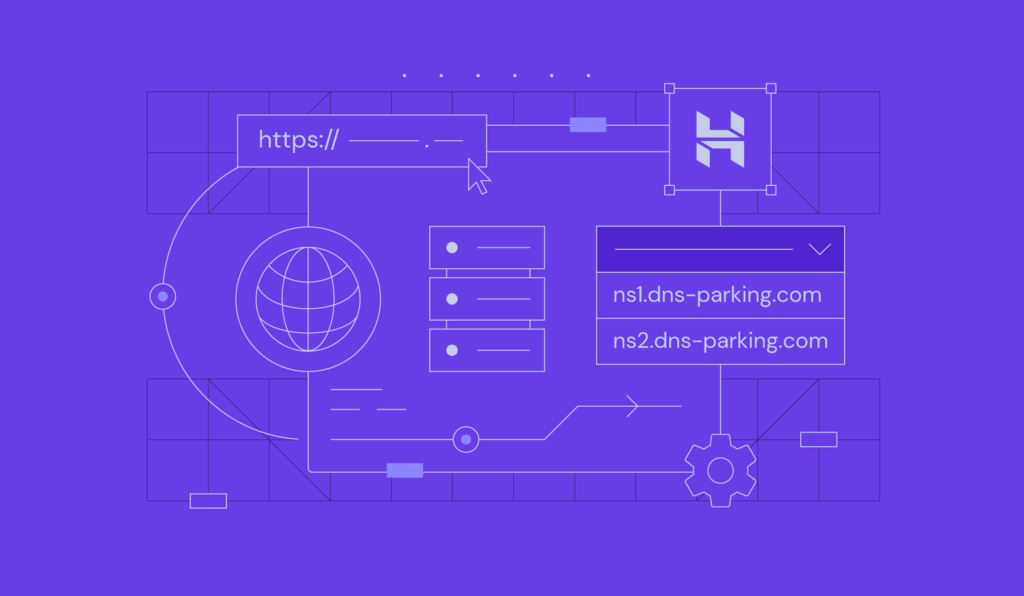
Domain Setup
Setting up a domain is crucial for your website’s identity. Hostinger offers a simple process for domain setup. Whether registering a new domain or connecting an existing one, Hostinger makes it easy.
Registering A Domain
First, log in to your Hostinger account. Go to the Domain section in your control panel. Click on Register Domain to begin.
Enter your desired domain name in the search bar. Hostinger will show you if it’s available. If the domain is available, click Add to Cart.
Proceed to checkout and complete the payment process. Hostinger will register your domain. You will receive a confirmation email once the domain is registered.
Connecting An Existing Domain
If you have an existing domain, you can easily connect it to Hostinger. Go to the Domains section in your Hostinger control panel. Click on Transfer Domain.
You will need to enter your domain name and the EPP code. The EPP code can be obtained from your current domain provider.
After entering the necessary information, click Transfer. Hostinger will take care of the rest. You will receive a confirmation email once the transfer is complete.
| Step | Action |
|---|---|
| 1 | Log in to Hostinger |
| 2 | Go to Domain section |
| 3 | Choose Register or Transfer Domain |
| 4 | Enter required details |
| 5 | Complete the process |
Website Building
Building a website with Hostinger is easy and fun. Hostinger offers tools to help you create a professional website. Website building is simple with their intuitive platform.
Using The Website Builder
Hostinger’s Website Builder is user-friendly. You don’t need coding skills to use it. Follow these steps to get started:
- Login to your Hostinger account.
- Go to the Website section.
- Click on the Website Builder option.
- Select a template from the available options.
- Customize your site using the drag-and-drop editor.
- Click Publish to make your site live.
The builder includes SEO tools, mobile optimization, and e-commerce features.
Installing WordPress
WordPress is a powerful platform for building websites. Hostinger makes it easy to install WordPress. Follow these steps to install WordPress on Hostinger:
- Login to your Hostinger account.
- Go to the Hosting section.
- Select your domain and click on Manage.
- Find the Auto Installer in the dashboard.
- Choose WordPress from the list of applications.
- Fill in the required details and click Install.
After installation, you can access your WordPress dashboard. Here, you can customize your website with themes and plugins.
| Feature | Website Builder | WordPress |
|---|---|---|
| Ease of Use | Very Easy | Moderate |
| Customization | Limited | Extensive |
| SEO Tools | Basic | Advanced |

Credit: m.youtube.com
File Management
Managing files efficiently is crucial for a smooth website operation. Hostinger offers multiple tools to help you with file management. Whether you prefer using a web-based file manager or FTP, Hostinger has you covered. Below, we explore both methods to manage your files effectively.
Using The File Manager
The File Manager is an easy-to-use tool. It allows you to manage files directly from your browser. This tool is accessible through your Hostinger control panel.
- Log in to your Hostinger account.
- Navigate to the hPanel.
- Select File Manager under the Files section.
- Use the interface to upload, delete, or edit files.
With the File Manager, you can:
- Upload multiple files simultaneously.
- Create new folders for better organization.
- Edit files directly within the browser.
- Set file permissions.
The File Manager is perfect for quick tasks and minor changes.
Ftp Access
For more advanced file management, use FTP Access. FTP, or File Transfer Protocol, allows for large file transfers and batch editing.
| Step | Description |
|---|---|
| 1 | Install an FTP client like FileZilla. |
| 2 | Open the FTP client and enter your credentials. |
| 3 | Use the Host, Username, and Password from your Hostinger account. |
| 4 | Connect to your server and start managing files. |
FTP Access offers:
- Fast file transfers.
- Batch file editing.
- High-level file organization.
Use FTP for more complex file management tasks.
Email Setup
Setting up email with Hostinger is simple and efficient. This guide will help you create email accounts and configure email clients. Follow these steps to ensure smooth communication through your Hostinger email.
Creating Email Accounts
To begin, log in to your Hostinger account. Navigate to the “Emails” section in your control panel. Here, you can create new email accounts.
- Click on “Email Accounts”.
- Press the “Create Account” button.
- Enter your desired email address and password.
- Click “Create” to finalize the setup.
You’ve now created an email account. Repeat these steps for additional accounts.
Configuring Email Clients
Once your email accounts are ready, set them up on your preferred email client. This could be Outlook, Gmail, or any other email service. Here’s a basic guide:
- IMAP/POP3 Server: mail.yourdomain.com
- IMAP Port: 993
- POP3 Port: 995
- SMTP Server: mail.yourdomain.com
- SMTP Port: 465
Use these settings to configure your email client. Specific steps may vary by client.
For Outlook, follow these steps:
- Open Outlook and go to File.
- Select Add Account.
- Enter your email address and click Connect.
- Choose IMAP or POP and enter the server information.
- Click Next and enter your password.
- Click Connect to complete the setup.
For Gmail, follow these steps:
- Open Gmail and go to Settings.
- Click on Accounts and Import.
- Select Add a mail account.
- Enter your email address and click Next.
- Choose Import emails from my other account (POP3).
- Enter your password and the POP3 server settings.
- Click Add Account to finish.
Configuring your email clients will enable you to manage your emails efficiently.

Credit: atarim.io
Security Features
Keeping your website secure is very important. Hostinger offers excellent security features. These features protect your website from threats and keep your data safe. Below, we explore two key security features: SSL Certificates and Two-Factor Authentication.
Ssl Certificates
SSL Certificates encrypt the data between your website and visitors. This encryption prevents hackers from stealing information.
Hostinger provides free SSL Certificates with all hosting plans. You can install an SSL Certificate with just a few clicks.
| Steps | Description |
|---|---|
| 1 | Log in to your Hostinger account. |
| 2 | Go to the “Hosting” section. |
| 3 | Click on “Manage” next to your website. |
| 4 | Find the “SSL” section and click “Setup.” |
Once installed, your website address changes to HTTPS. This ensures your visitors know your site is secure.
Enabling Two-factor Authentication
Two-Factor Authentication (2FA) adds an extra layer of security. It requires two verification steps before accessing your account.
Here is how to enable 2FA on your Hostinger account:
- Log in to your Hostinger account.
- Go to the “Profile” section.
- Select “Security” from the menu.
- Click on “Enable” under Two-Factor Authentication.
- Follow the on-screen instructions to complete the setup.
With 2FA enabled, you will need your password and a code from your phone. This makes it much harder for anyone to access your account without permission.
Performance Optimization
Performance optimization is key to ensuring your website runs smoothly. With Hostinger, you can easily enhance your website’s speed and efficiency. This guide will cover two essential features: caching options and the Content Delivery Network (CDN).
Caching Options
Caching helps to store frequently accessed data. This reduces the load time of your web pages. Hostinger offers several caching options to boost performance.
- Browser Caching: Stores static files like images and scripts on the user’s device. This reduces server load and speeds up page loading.
- Server-Side Caching: Stores dynamic content on the server. This reduces the time needed to generate pages.
- Object Caching: Caches database queries. This improves database efficiency and speeds up data retrieval.
Using these caching options can significantly speed up your website. Faster websites provide a better user experience. They also rank higher in search engines.
Content Delivery Network (cdn)
A Content Delivery Network (CDN) helps to distribute your website content. It uses a network of servers located around the globe.
- Global Reach: CDNs store copies of your site on multiple servers. This ensures quick access regardless of user location.
- Reduced Latency: Servers closer to the user reduce the time it takes to load your site. This leads to faster load times.
- Improved Security: CDNs provide an additional layer of security. They protect against DDoS attacks and other cyber threats.
Hostinger’s integration with CDNs can dramatically improve your site’s performance. By utilizing caching options and a CDN, you ensure a fast, secure, and efficient website.
Customer Support
Having robust customer support is essential when using any web hosting service. Hostinger provides excellent support options to help users quickly resolve issues. Whether you are a beginner or an expert, accessing customer support can be a game-changer.
Accessing Support
Accessing Hostinger’s support is straightforward. You can reach out via live chat or email. The live chat option is available 24/7, ensuring you get help whenever needed. To access the live chat:
- Log in to your Hostinger account.
- Click on the Help button at the bottom right corner.
- Choose the Live Chat option.
Email support is also available. For email support:
- Navigate to the Contact Us page.
- Fill out the support form with your issue details.
- Submit the form, and wait for a response.
Using The Knowledge Base
Hostinger offers a comprehensive Knowledge Base filled with articles, tutorials, and guides. This can be your first stop for resolving common issues. To use the Knowledge Base:
- Log in to your Hostinger account.
- Click on the Help button at the bottom right corner.
- Select Knowledge Base from the menu.
The Knowledge Base is categorized into different sections for easy navigation. You can find articles on:
| Category | Topics |
|---|---|
| Web Hosting | Setup, Management, Troubleshooting |
| Domains | Registration, Transfer, DNS Management |
| Setup, Configuration, Troubleshooting | |
| SSL | Installation, Renewal, Troubleshooting |
Use the search bar to find specific articles quickly. Type in keywords related to your issue. The search will display the most relevant articles. This can save time and help you solve problems without contacting support.
Frequently Asked Questions
What Is Hostinger And How Does It Work?
Hostinger is a web hosting service. It offers shared hosting, VPS, and cloud hosting. Users can create websites easily. Hostinger provides domain registration, SSL certificates, and 24/7 support. It features a user-friendly control panel and affordable pricing. Ideal for beginners and professionals.
Is Hostinger Easy To Use?
Yes, Hostinger is easy to use. Its intuitive interface and user-friendly dashboard make website management simple for beginners.
How To Start Hosting With Hostinger?
To start hosting with Hostinger, visit their website and choose a hosting plan. Create an account, complete the payment process, and set up your domain. Access your control panel to manage and launch your website.
Can I Build My Website On Hostinger?
Yes, you can build your website on Hostinger. They offer user-friendly tools and templates.
Conclusion
Mastering Hostinger is simple and efficient with the right steps. Follow this guide to set up and manage your website smoothly. Enjoy the benefits of reliable hosting and excellent customer support. Now, you’re ready to take your online presence to the next level with Hostinger.
Happy hosting!