To buy a domain from Hostinger, visit their website and use the domain search tool to find your desired domain. Follow the prompts to complete the purchase.
Hostinger simplifies the process of buying a domain, making it accessible for everyone. Their user-friendly interface allows you to search for available domains quickly. Once you find a suitable domain name, the purchase process is straightforward. Hostinger offers competitive pricing and various domain extensions to choose from.
Secure your online presence with just a few clicks. A domain from Hostinger ensures reliability and professional support. Benefit from their additional services like web hosting and email hosting, creating a one-stop solution for your online needs. Start your journey to establishing a robust online identity with Hostinger today.

Credit: www.hostinger.com
Introduction To Domain Buying
Buying a domain name is the first step to building an online presence. A domain name serves as your website’s unique address on the internet. It’s what people type into their browser to find your site. Hostinger offers an easy and affordable way to buy your domain name.
Why Choose Hostinger?
Hostinger is known for its affordable pricing and excellent customer service. They offer a wide range of domain extensions to choose from, including .com, .net, and .org. Hostinger also provides free SSL certificates with your domain purchase, ensuring your website is secure.
Here’s a simple table to show the benefits:
| Feature | Details |
|---|---|
| Pricing | Affordable for all budgets |
| Domain Extensions | Wide variety available |
| SSL Certificates | Free with domain purchase |
Benefits Of Owning A Domain
Owning a domain name comes with several benefits:
- Professionalism: A custom domain makes your business look more professional.
- Branding: It helps in building your brand identity online.
- SEO: A good domain name can improve your website’s search engine ranking.
- Email: You can have a professional email address like
yourname@yourdomain.com.
These benefits make owning a domain essential for any online venture.
Credit: www.hostinger.com
Preparing For Purchase
Before buying a domain from Hostinger, preparation is key. This phase ensures you select the right name and check its availability. Follow these steps to make a smart choice.
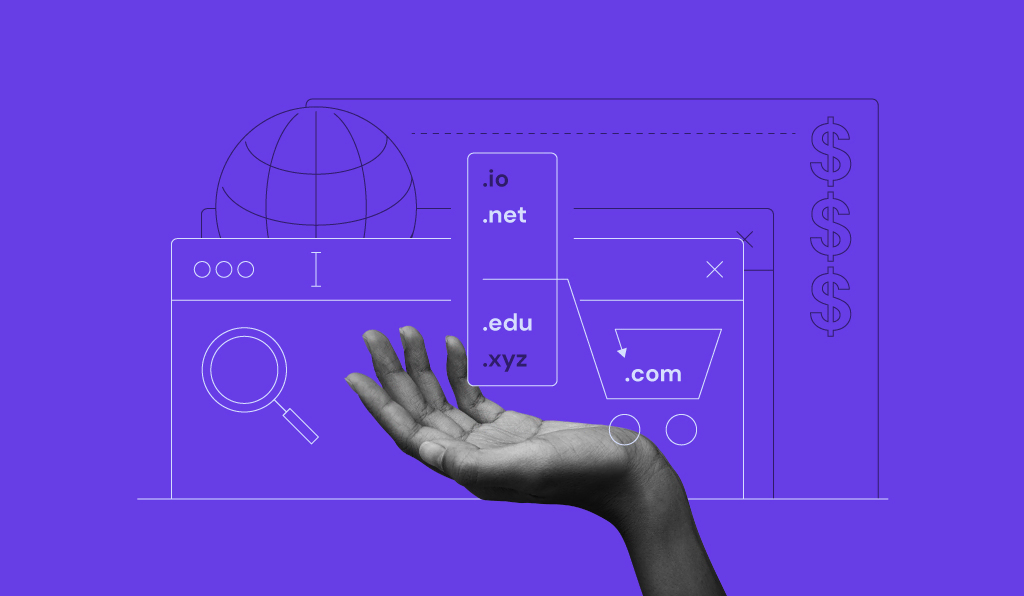
Deciding On A Domain Name
Your domain name is your online identity. Choose a name that reflects your brand or purpose. Here are some tips:
- Keep it short: Short names are easier to remember.
- Make it relevant: Ensure it aligns with your content or business.
- Avoid numbers and hyphens: These can be confusing and hard to remember.
- Choose a unique name: Stand out from the competition.
Use a name generator if you’re stuck. Hostinger offers a handy tool for this.
Checking Domain Availability
After deciding on a name, check if it’s available. Hostinger makes this process easy:
- Go to Hostinger’s website.
- Navigate to the domain checker tool.
- Enter your desired domain name.
- Click the Search button.
If the name is available, you can proceed to purchase. If not, consider alternatives or tweak your name.
Here’s a quick table to illustrate the steps:
| Step | Description |
|---|---|
| 1 | Visit Hostinger’s domain checker tool. |
| 2 | Enter your desired domain name. |
| 3 | Click the Search button. |
| 4 | Review availability and proceed. |
Repeat the process until you find an available domain name that fits your needs.
Navigating Hostinger’s Platform
Buying a domain from Hostinger is simple. The platform is user-friendly and straightforward. This section will guide you through creating an account and exploring the dashboard.
Creating An Account
First, visit the Hostinger website. Click on the Sign Up button at the top-right corner. You will see a form where you need to enter your email address and create a password. Alternatively, you can sign up using your Google or Facebook account.
Once you fill in the details, click on the Create Account button. You will receive a confirmation email. Click the link in the email to verify your account. Now, you are ready to log in and start exploring.
Exploring The Dashboard
After logging in, you will land on the dashboard. The dashboard is the control center of your Hostinger account. It shows an overview of your services and domains. Let’s break down the key sections:
| Section | Description |
|---|---|
| Home | An overview of your account and services. |
| Hosting | Manage your hosting plans and websites. |
| Domains | View and manage your domains. |
| Billing | Review your billing information and invoices. |
| Support | Access customer support and resources. |
To buy a domain, go to the Domains section. Click on the Buy Domain button. A search bar will appear where you can enter your desired domain name. Choose from the available options and proceed to checkout.
In the checkout process, ensure you provide accurate information. You will also choose the registration period and additional services, if any. After completing the payment, the domain will be added to your account.
With these steps, you can easily navigate Hostinger’s platform and buy a domain. The user-friendly interface makes the process seamless for everyone.
Selecting A Domain
Choosing the perfect domain name is a crucial step. Your domain represents your brand online. It’s essential to select a name that is memorable and relevant. Hostinger makes this process straightforward and user-friendly.
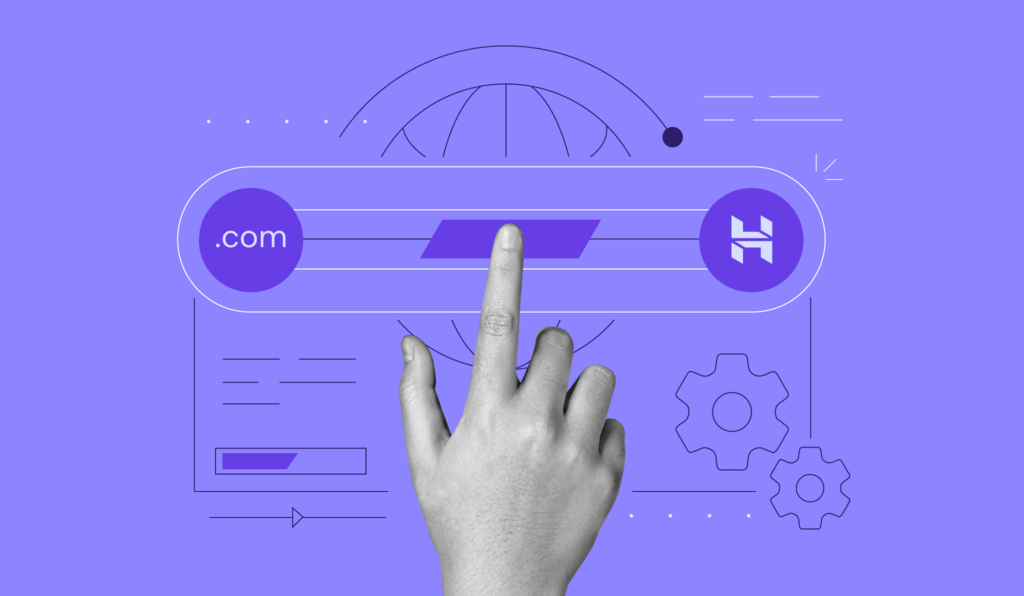
Using The Search Function
Hostinger offers an intuitive search function to help you find the right domain. Simply enter your desired domain name in the search bar. Hostinger will instantly show you available options.
You can refine your search based on specific keywords. This ensures you get the most relevant suggestions. Hostinger’s search tool also provides alternative extensions if your first choice is taken.
Choosing The Right Extension
Extensions, also known as TLDs, play a significant role. Popular options include .com, .net, and .org. Each serves different purposes, so choose wisely.
| Extension | Use Case |
|---|---|
| .com | Commercial and business websites |
| .net | Technology and network-related sites |
| .org | Non-profit organizations |
If you target a specific country, consider using country-specific TLDs. For example, .uk for the United Kingdom or .ca for Canada.
Hostinger’s platform allows you to check the availability of various extensions. This makes it easier to choose the most suitable one for your needs.
Completing The Purchase
After choosing your perfect domain, the next step is completing the purchase. This involves adding the domain to your cart, reviewing your order, and confirming your purchase. Follow these steps to finalize your domain purchase on Hostinger easily.
Adding To Cart
First, click the “Add to Cart” button next to your chosen domain. This will place the domain in your shopping cart. You can find the cart icon at the top right corner of the page.
Click on the cart icon to view your selected domain. Ensure you have added the correct domain name. If you want to add more domains, repeat the process.
Reviewing And Confirming
Next, review your order details carefully. Check the domain name, its extension, and the total cost. Hostinger may offer additional services such as domain privacy protection or email hosting. Add these services if needed.
Below is a sample table of what your order summary might look like:
| Item | Description | Price |
|---|---|---|
| Domain Name | example.com | $9.99/year |
| Domain Privacy Protection | Protects your personal information | $5.00/year |
Once you have reviewed your order, click the “Proceed to Checkout” button. Enter your payment details and billing information. Hostinger accepts various payment methods including credit cards and PayPal.
Finally, click on “Confirm Purchase” to complete your order. You will receive a confirmation email from Hostinger with your order details. Your new domain is now registered and ready to use!
Setting Up Your Domain
After buying a domain from Hostinger, the next step is setting it up. This includes configuring DNS settings and linking your domain to a website. Follow these steps to get your domain up and running smoothly.
Configuring Dns Settings
DNS settings are crucial for your domain to function properly. They direct internet traffic to the correct server. Here’s how to configure them:
- Log in to your Hostinger account.
- Navigate to the DNS Zone Editor.
- Update the A record with your server’s IP address.
- Set up the MX records for email services.
- Save all changes and wait for propagation.
Proper DNS configuration ensures your domain points to the right location. This step is critical for your website’s accessibility.
Linking To A Website
Linking your domain to a website makes it live. Follow these steps to link your domain:
- Open the Hosting Dashboard in your Hostinger account.
- Select the website you want to link.
- Click on Manage to open the management settings.
- Find the Domain section and click on Add Domain.
- Enter your new domain name and click Save.
Once linked, your domain will display your website. This step completes the setup process. Your site is now live and accessible to everyone.
Managing Your Domain
After purchasing a domain from Hostinger, effective management is crucial. Proper management ensures your domain performs optimally. It also helps you avoid potential issues. This section covers key aspects of domain management.
Renewal Options
Renewing your domain on time is essential. Hostinger provides several renewal options. Choose what suits your needs best.
- Automatic Renewal: This option renews your domain automatically. You won’t need to worry about expiration.
- Manual Renewal: You can renew your domain manually. This gives you more control but requires attention.
To enable automatic renewal, follow these steps:
- Log in to your Hostinger account.
- Go to the Domains section.
- Select the domain you want to manage.
- Find the renewal settings and enable automatic renewal.
Transferring A Domain
Transferring a domain to Hostinger is simple. Follow these steps:
- Unlock your domain at the current registrar.
- Get the Authorization Code.
- Log in to your Hostinger account.
- Go to the Transfer Domain section.
- Enter your domain name and authorization code.
- Confirm the transfer.
Hostinger will handle the rest. The transfer usually completes within a few days.
Troubleshooting And Support
Buying a domain from Hostinger is simple. Yet, you might face some issues. Here, we’ll explore common problems and how to get help.
Common Issues
Sometimes, you might face issues while buying a domain. These problems can disrupt your plans. Here are some common issues and how to fix them:
- Payment Problems: Verify your card details. Ensure you have enough balance.
- Domain Already Taken: Try a different name. Be creative with variations.
- Account Login Issues: Reset your password. Check your email for reset link.
Accessing Customer Support
If you can’t solve the issue, Hostinger’s support team is ready to help. They offer multiple ways to contact them.
| Support Type | Details |
|---|---|
| Live Chat | Available 24/7. Instant response to your queries. |
| Email Support | Send detailed issues to support@hostinger.com. |
| Knowledge Base | Find articles and guides to solve common problems. |
Accessing support is easy. Just go to your Hostinger dashboard. Click on the “Help” button. Choose the support type that suits you.
Credit: www.hostinger.com
Frequently Asked Questions
How To Buy A Domain Name From Hostinger?
To buy a domain name from Hostinger, visit their website. Search for your desired domain. Select the domain and proceed to checkout. Complete the registration and payment process. Your domain will be ready to use.
Does Hostinger Own Your Domain?
Hostinger does not own your domain. You retain full ownership and control over your domain.
Should I Buy Domain From Hostinger Or Godaddy?
Choose Hostinger for affordable pricing and user-friendly interface. GoDaddy offers more features and better customer support. Evaluate your needs.
Is Hostinger A Good Domain?
Yes, Hostinger is a good domain provider. It offers affordable pricing, reliable performance, and excellent customer support.
Conclusion
Purchasing a domain from Hostinger is straightforward and user-friendly. With these steps, you can secure your perfect domain. Start your online journey confidently with Hostinger’s reliable services. Remember, a good domain is key to a successful website. Happy domain hunting!