Are you looking to maximize the impact of your email newsletters? Setting the right schedule for sending your newsletters in GetResponse can make all the difference in how your audience engages with your content.
But how do you find the perfect timing and ensure your messages go out exactly when you want? In this guide, you’ll discover simple, step-by-step instructions to schedule your newsletters effortlessly using GetResponse. By the end, you’ll have the confidence to plan your email campaigns like a pro—boosting opens, clicks, and ultimately, your results.
Ready to take control of your newsletter timing? Let’s dive in!

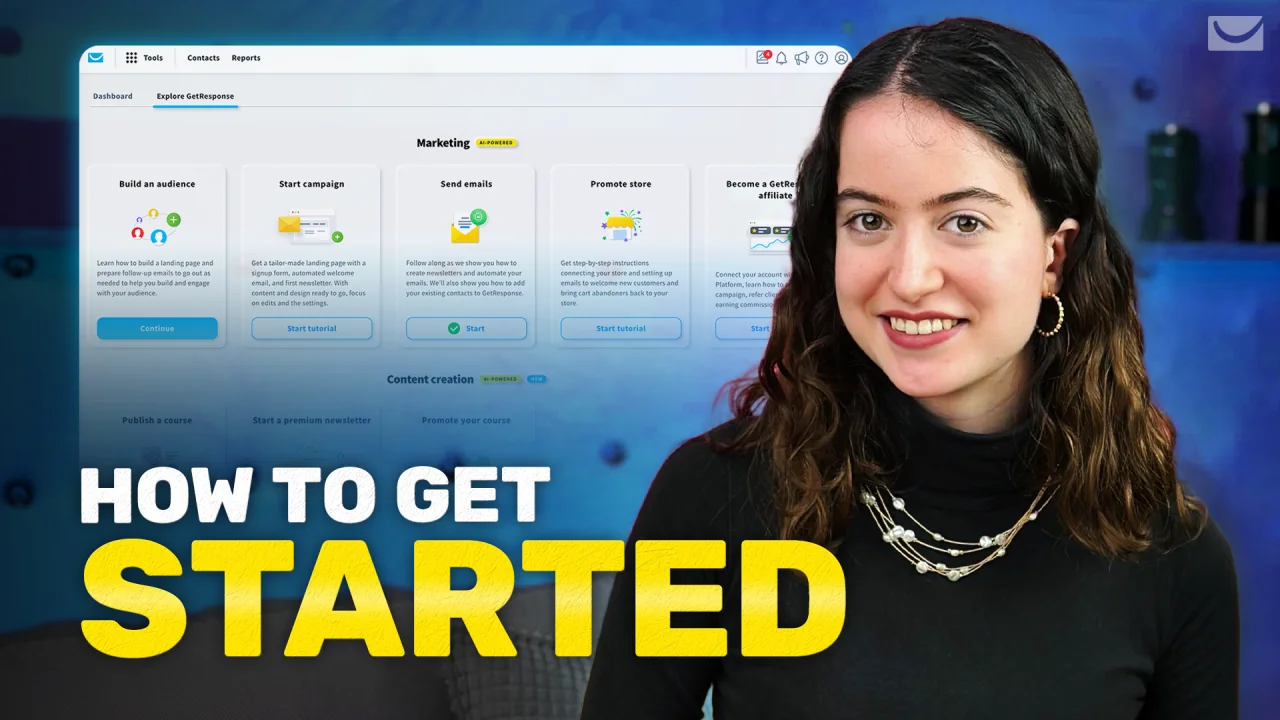
Credit: www.getresponse.com
Getresponse Scheduling Basics
Setting a schedule for sending newsletters in GetResponse helps reach your audience at the right time. Understanding the basics of scheduling ensures your emails land in inboxes when readers are most active. This section guides you through the simple steps to schedule your newsletters effectively in GetResponse.
Accessing The Scheduling Feature
First, log in to your GetResponse account. Navigate to the “Email Marketing” tab. Choose the newsletter you want to send or create a new one. After composing your email, find the “Send” button at the bottom of the editor. Click the small arrow next to it to open scheduling options.
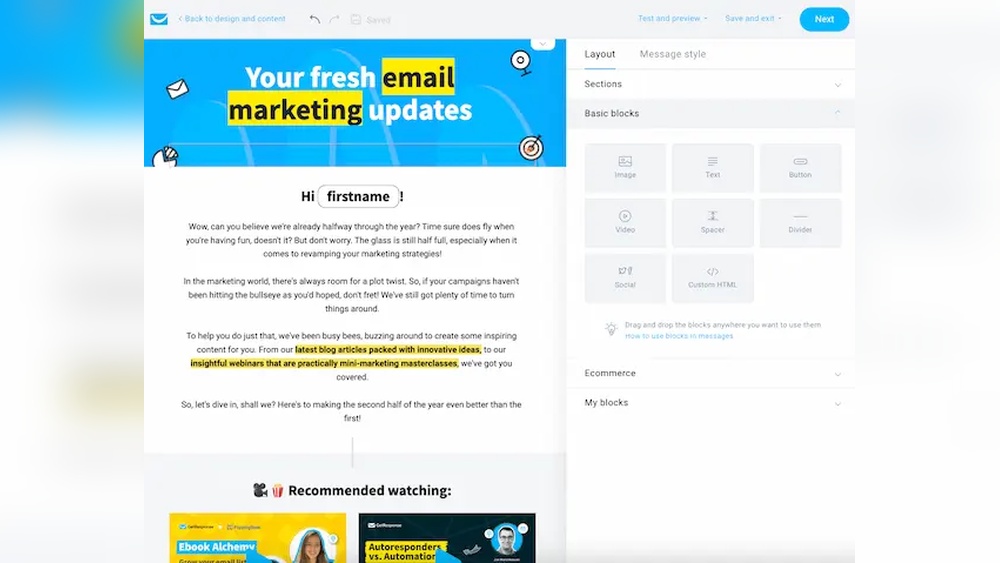
Composing Your Newsletter
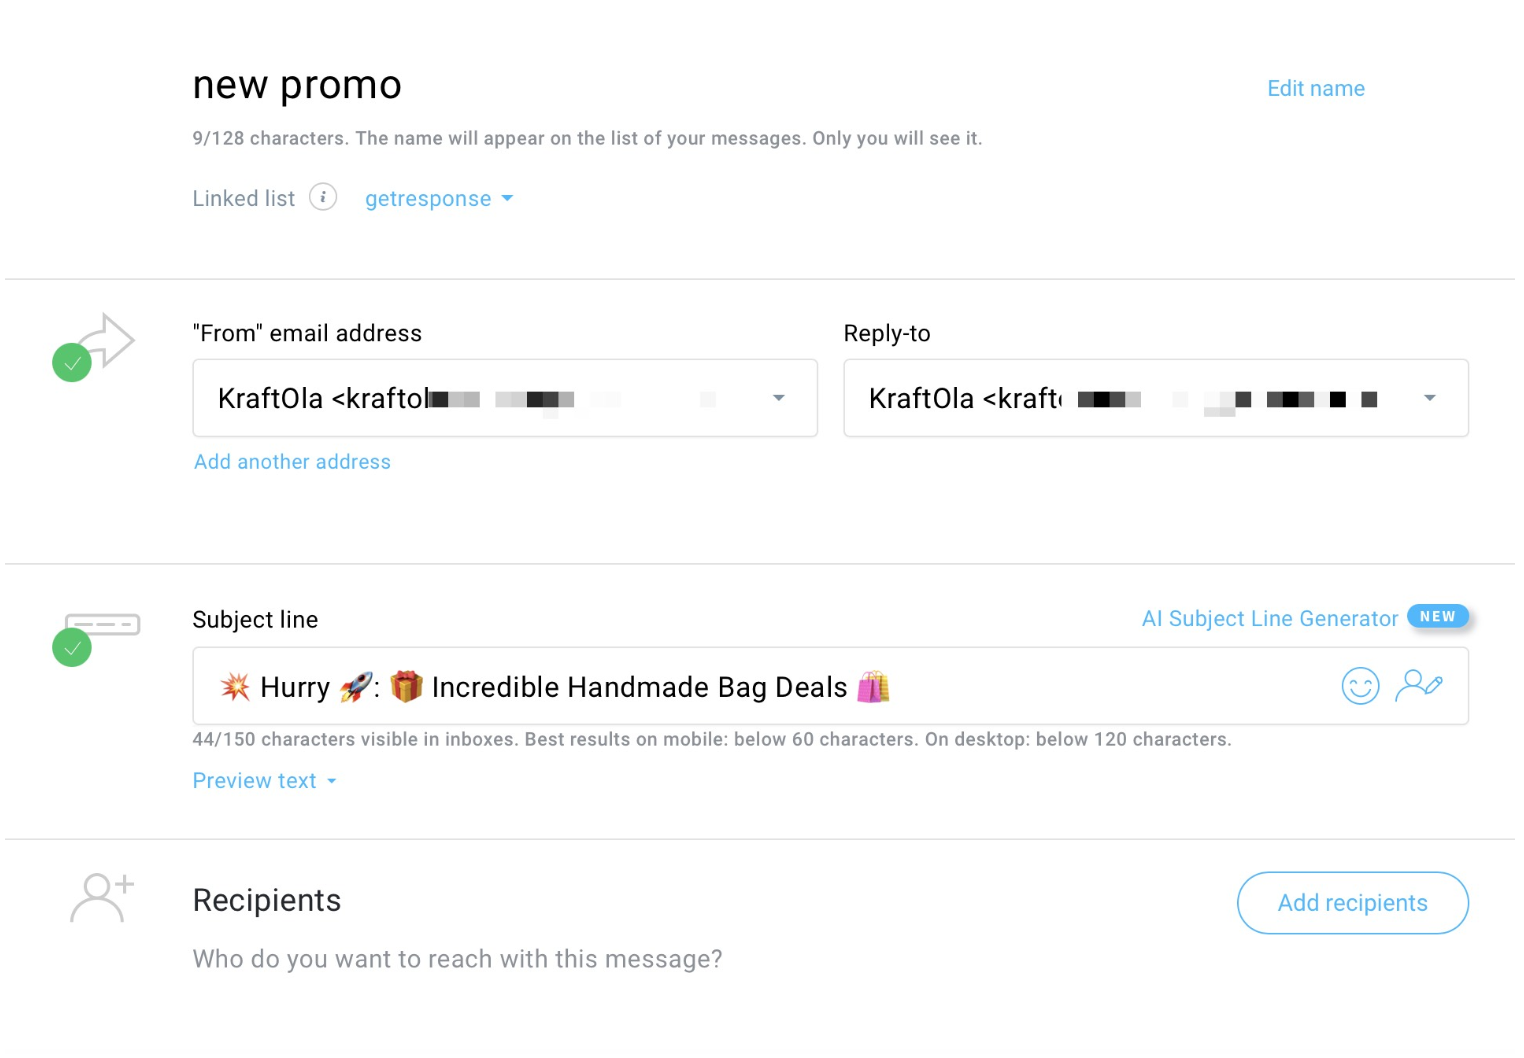
Write your newsletter clearly and concisely. Use a catchy subject line to grab attention. Add images and links to engage readers. Preview your email to check for errors. Make sure your message suits your audience’s interests.
Choosing Send Or Schedule Options
After finishing your newsletter, decide when to send it. Click the arrow next to the “Send” button. Select “Send Now” to deliver immediately. Choose “Schedule” to pick a future date and time. Set the exact time for your email to go out. Confirm your choice to save the schedule.
Setting Date And Time
Setting the date and time for your newsletter in GetResponse is a key step. It ensures your message reaches readers at the best possible moment. Proper timing can increase open rates and engagement. Here is how you do it in simple steps.
Selecting Future Send Date
First, choose a date in the future to send your newsletter. Click on the calendar icon in the scheduling area. Pick the day you want your email to go out. This helps you plan ahead and align with marketing goals or events.
Make sure the selected date gives you enough time to finalize content. Avoid last-minute changes to keep your campaign smooth.
Picking The Ideal Time
Next, set the exact time for sending your newsletter. Think about when your audience is most active. Early mornings or lunch breaks often work well. Enter the hour and minute in the time selector.
Choosing the right time can boost the chances that your email is noticed quickly. Test different times to find what suits your audience best.
Time Zone Considerations
Check the time zone settings before finalizing your schedule. GetResponse lets you pick the time zone for your campaign. This ensures emails send at the correct local time for your readers.
If you have an international audience, consider segmenting by time zone. This way, each group receives the newsletter at the best time in their area.
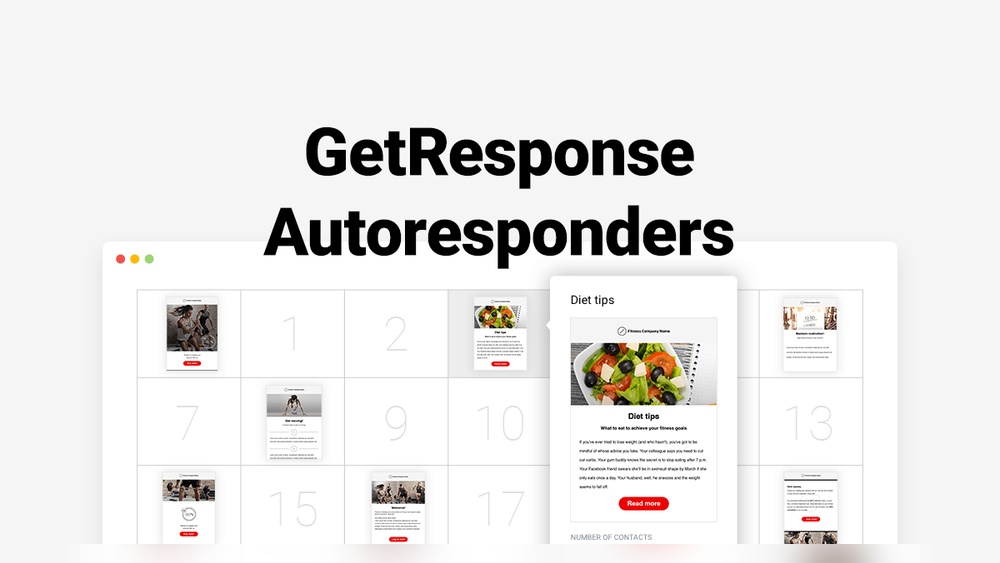
Using Autoresponders
Autoresponders in GetResponse automate your email communication. They send emails automatically after a subscriber joins your list or takes action. Using autoresponders saves time and keeps your audience engaged consistently. Setting the right schedule for these emails boosts your campaign’s success.
Creating Autoresponder Series
Start by planning a sequence of emails that follow a logical order. Each email should build on the previous one. In GetResponse, go to the Autoresponders tab and click “Create Autoresponder.” Choose the list and enter the subject and content. Set the delay time for the first email. Repeat this process to add more emails to the series.
Scheduling Follow-up Emails
Follow-up emails should appear at intervals that keep readers interested without overwhelming them. In the autoresponder setup, specify the time delay for each email. You can set delays in minutes, hours, or days. Use this to space out your messages. This method helps maintain steady communication with your subscribers.
Managing Autoresponder Timing
Check the timing of your autoresponders regularly. Adjust the schedule based on how your audience reacts. For example, if open rates drop, try sending emails earlier or later. GetResponse allows easy editing of autoresponder timing. Use reports to analyze performance and improve your schedule.
Credit: www.getresponse.com
Best Times To Send
Choosing the best times to send your newsletter in GetResponse can boost your open and click rates. Timing impacts how many subscribers see and engage with your emails. Understanding when your audience is most active helps you schedule messages that reach inboxes at the right moment.
Optimal Days For Engagement
Weekdays often show higher engagement than weekends. Tuesday, Wednesday, and Thursday are popular choices for many email marketers. People tend to check their emails more during the middle of the week. Avoid Mondays and Fridays if possible, as these days can have lower open rates.
Ideal Time Of Day
Mornings between 9 AM and 11 AM usually perform well. Many readers check emails after starting their workday. Early afternoons, around 1 PM to 3 PM, also see good activity. Late evenings and night times generally have less engagement. Schedule your newsletter to arrive when your audience is most likely to read it.
Testing Your Audience Preferences
Every audience is different. Run tests by sending emails at various times and days. Use GetResponse’s analytics to track open and click rates. Adjust your schedule based on what your subscribers respond to best. Keep testing regularly to stay aligned with changing habits.
Managing Scheduled Newsletters
Managing scheduled newsletters in GetResponse lets you control your email campaigns easily. You can adjust emails before they send, change the timing, or stop them completely. This flexibility helps you stay on top of your marketing efforts.
Keeping track of your scheduled emails ensures your messages reach the right audience at the best time. It also helps avoid mistakes and improves your campaign results.
Editing Scheduled Emails
To edit a scheduled email, open your GetResponse dashboard. Find the newsletter in the scheduled list. Click on it to view details. You can change the content, subject, or design. Save your changes before exiting. The updated email will send as scheduled.
Rescheduling Or Canceling Sends
Change your send time easily. Select the scheduled email and choose the reschedule option. Pick a new date and time from the calendar. Confirm your choice to save it. To cancel, select the email and hit the cancel button. This stops the email from sending.
Monitoring Send Status
Check the status of your newsletters anytime. GetResponse shows if an email is queued, sent, or canceled. You can also see delivery rates and errors. Monitoring helps you fix issues and understand campaign performance quickly.
Credit: www.getresponse.com
Tips For Effective Scheduling
Setting the right schedule for sending newsletters in GetResponse is key. It helps reach subscribers at the best time. Careful planning improves open and click rates. It also boosts engagement and reduces unsubscribes. Follow these tips for effective scheduling.
Segmenting Your Audience
Divide your email list into smaller groups based on interests or behavior. Send newsletters tailored to each group’s needs. This increases relevance and encourages readers to open your emails. Use GetResponse’s segmentation tools to create precise groups easily. Schedule emails to match the time zones of each segment.
Avoiding Spam Triggers
Choose the right sending frequency to avoid annoying your subscribers. Avoid using spammy words like “free” or “urgent” in subject lines. Test your emails with spam checkers before scheduling. Ensure your sender name and email address are consistent. This builds trust and reduces the chance of landing in spam folders.
Analyzing Performance Metrics
Track open rates, click rates, and unsubscribe numbers after each send. Use GetResponse reports to find the best sending times and days. Adjust your schedule based on this data for better results. Regular analysis helps keep your audience engaged and your campaigns successful.
Frequently Asked Questions
How Do You Schedule To Send An Email?
Compose your email, click the dropdown arrow beside “Send,” select “Schedule send,” then choose your desired date and time. Confirm to schedule.
How To Set Up A Weekly Newsletter?
Create engaging content, choose an email platform, build your subscriber list, design your template, and schedule weekly sends. Monitor performance and adjust accordingly.
What’s The Best Time Of Day To Send An Email Newsletter?
The best time to send an email newsletter is mid-morning, between 9 AM and 11 AM. Tuesday, Wednesday, and Thursday show higher open rates. Avoid early mornings and late evenings to boost engagement and click-through rates. Test your audience for optimal timing.
How To Create A Newsletter In Getresponse?
Log in to GetResponse, click “Create Newsletter,” choose a template, add content, and customize your design. Then, select recipients and send or schedule your newsletter.
Conclusion
Setting a schedule for sending newsletters in GetResponse helps maintain consistency. It allows you to reach your audience at the right time. Scheduling saves time and avoids last-minute rushes. Remember to pick a date and time that suits your readers.
Test different sending times to see what works best. Stay organized by planning your email campaigns ahead. This simple step improves engagement and keeps your audience informed. Keep practicing, and scheduling will become a smooth part of your workflow.