Are you struggling to send a test email in Marketo? Whether you’re a seasoned marketer or new to the platform, testing your emails is a crucial step that can make or break your campaigns.
It’s the difference between a polished message and one littered with mistakes. You want your emails to look perfect, right? Imagine the confidence you’ll feel knowing your email is flawless before hitting that send button to thousands of subscribers. In this guide, you’ll discover the steps to effortlessly send a test email in Marketo.
You’ll gain insights that will help you avoid common pitfalls and ensure your communications shine. Keep reading to unlock the secrets to email perfection!
Setting Up Your Marketo Account
Setting up your Marketo account is crucial for effective email marketing. It allows you to send test emails seamlessly. This process involves logging in and navigating the dashboard efficiently. Understanding these steps ensures a smooth workflow. It also enhances your campaign management skills.
Logging In To Marketo
Begin by visiting the Marketo website. Enter your credentials in the login fields. This includes your username and password. After logging in, you will access your dashboard. Remember to keep your login details secure.
Navigating The Dashboard
The Marketo dashboard is your control center. Here, you manage campaigns and view analytics. Look for the main menu on the left side. It offers various options for different tasks. Familiarize yourself with these sections. They help you organize and track your marketing efforts.
Credit: etumos.com
Creating An Email Template
Sending a test email in Marketo ensures your template looks perfect. First, select your email in the Design Studio. Click “Send Sample” to preview and verify everything. Adjust as needed before finalizing.
Creating an email template in Marketo is a crucial step. It sets the foundation for your email campaigns. A well-designed template ensures consistency and professionalism. It also saves time for future campaigns. Here’s how you can create an effective email template.Choosing The Right Template
Begin with selecting a template that aligns with your brand. Marketo offers various pre-designed templates. Consider your campaign goals. A promotional campaign needs a different layout than a newsletter. Ensure the template supports your message visually. Choose a design that matches your brand colors and style. This helps in maintaining brand consistency.Customizing Your Content
Once you have your template, tailor the content. Start with a clear, catchy subject line. This draws attention immediately. Include a personalized greeting to engage your reader. Craft your main message concisely. Use short sentences and bullet points for clarity. Incorporate images that complement your text. Ensure all visuals are high quality.Finally, include a strong call-to-action. This guides your reader to the next step. Whether it’s visiting a website or making a purchase. Make sure all links work and are trackable. This helps measure campaign success.Creating the right email template can enhance your marketing efforts. It’s a vital part of sending a test email in Marketo.Configuring Test Email Settings
Configuring test email settings in Marketo is essential. It ensures your emails reach the right people without errors. This process helps you identify potential issues before launching a campaign. Test emails allow you to see how recipients view your message. This step is crucial in your email marketing strategy. Follow these steps to set up test email settings effectively.
Selecting Recipients
Choose specific recipients for your test email. Start by selecting colleagues or a small group. This helps get feedback from different perspectives. Ensure these recipients are familiar with the email content. It’s important they understand the purpose of the email. This ensures they provide valuable feedback. You can also select your own email to see the outcome firsthand.
Adjusting Email Parameters
Make necessary adjustments to your email settings. Check the subject line for clarity and engagement. Ensure it aligns with the email content. Modify the sender name if needed. It should be recognizable to the recipient. Verify the email address used for sending. This ensures it’s valid and professional. Review the email content for typos or formatting issues.
Sending The Test Email
Sending a test email in Marketo is a crucial step to ensure your marketing campaigns hit the mark. It’s more than just checking for typos; it’s about confirming that every element of your email looks and functions as intended. By sending a test email, you give yourself the chance to experience the email exactly as your recipients will, allowing you to catch potential issues before they reach your audience. Let’s dive into the specifics of how to send a test email effectively in Marketo.
Reviewing The Email
Before you hit send, take a moment to review your email thoroughly. Check the subject line to ensure it grabs attention without misleading. Preview the email in different formats and devices. Does it look appealing on mobile and desktop? Confirm that links and buttons are clickable and direct to the correct pages. Always use a test email address to see the email in its final form. This step can save you from embarrassing mistakes.
Sending Options
Marketo offers several sending options for your test email. You can send it to yourself, a colleague, or a small test group. Choose a group that represents your target audience. Consider their feedback seriously. You can also use the “Send Sample” feature, which allows you to test different email versions. This is ideal if you’re testing personalization or dynamic content. Each test helps refine your message and delivery.
Have you ever sent a test email only to realize later that a crucial link was broken? Avoid this by paying attention to every detail during your review. Test emails are your safety net, ensuring your campaign’s success. Remember, your reputation is on the line with every email you send. How confident are you that your email will make the right impression?
By following these steps, you can send test emails in Marketo with precision and confidence. Let each test be a learning experience and an opportunity to improve your marketing strategy. Your attention to detail now can lead to increased engagement and better results later.
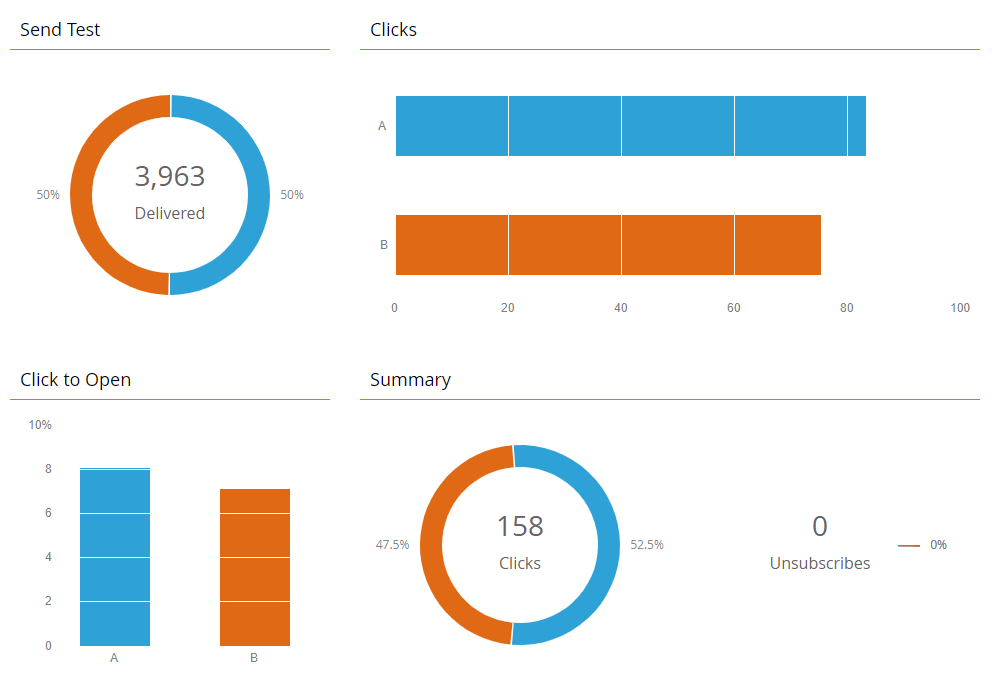
Analyzing Test Email Results
Sending test emails in Marketo is just the beginning. The real value lies in analyzing the results. Knowing how your email performs can shape future strategies. This step helps ensure your email campaign’s success. Dive into key aspects to consider in the analysis process.
Tracking Delivery
Delivery tracking is crucial. It shows if your email reached the inbox. Check for bounce rates. High bounce rates may indicate issues with the email list. Ensure your email complies with spam regulations. This prevents it from landing in the spam folder.
Assessing Engagement
Engagement assessment offers insights into recipient actions. Look at open rates. They tell if your subject line grabs attention. Click rates reveal interest in the content. Low click rates might suggest content needs improvement. Monitor unsubscribe rates closely. High unsubscribe rates signal dissatisfaction. Aim for engaging content to reduce this.

Credit: stackoverflow.com
Troubleshooting Common Issues
Sending a test email in Marketo can sometimes lead to unexpected issues. Addressing these problems efficiently ensures your emails reach the audience as intended. Let’s explore common issues and their solutions.
Resolving Delivery Problems
Delivery problems can occur for various reasons. First, check if your email list is updated. Remove any invalid email addresses to improve deliverability. Verify the email’s content for any spam triggers. Words like “free” or “urgent” can affect delivery. Ensure your email server settings are correct. Misconfigured settings might block emails from reaching inboxes. Test your emails with different email clients. This helps identify any specific client-related issues.
Fixing Formatting Errors
Formatting errors can make your emails look unprofessional. Start by previewing your email in Marketo. Use the “Preview” function to catch errors early. Ensure images and links are correctly placed. Broken links can frustrate recipients. Check for any unusual spacing or misaligned text. Consistent formatting improves readability. Test the email on various devices. This ensures it looks good on both mobile and desktop. Adjust styles and fonts as needed. Consistent font size and typeface enhance user experience.

Credit: experienceleague.adobe.com
Frequently Asked Questions
How Do I Send A Sample Email In Marketo?
To send a sample email in Marketo, navigate to the Email section. Select your email, click “Send Sample,” and enter recipient details. Customize settings, if needed, and click “Send. ” Ensure the recipient email address is accurate for successful delivery.
How Do You Send A Test Email?
Open your email client and compose a new message. Enter your email address in the “To” field. Add a subject and message content. Click “Send” to deliver the test email. Check your inbox to confirm receipt. Adjust settings if needed.
How To Generate A Test Email?
To generate a test email, open your email client and create a new message. Enter a dummy recipient, subject, and body. Send the email to yourself or a test account to verify functionality. Ensure your email settings allow sending and receiving test messages for seamless testing.
Conclusion
Sending a test email in Marketo is simple. Start by accessing your email draft. Use the “Send Sample Email” feature. Check the email in your inbox. Make sure the format looks right. Review links and images. Test different devices for compatibility.
Adjust settings if needed. Testing ensures your message reaches users perfectly. Follow these steps to avoid errors. Remember, practice makes perfect. With practice, sending test emails becomes easy. Keep refining your skills. Your marketing campaigns will improve. Happy testing!


