Are you looking to add your GetResponse list sign-up form directly to your website? Getting the HTML code for your GetResponse list is the key step to making that happen.
But if you’re wondering how to find and use this code easily, you’re in the right place. In this guide, you’ll discover simple, step-by-step instructions to grab your HTML code quickly—no technical jargon or confusing steps. By the end, you’ll have everything you need to embed your GetResponse form and start growing your email list effortlessly.
Ready to get started? Let’s dive in!

Credit: www.customerthermometer.com
Accessing Getresponse Webforms
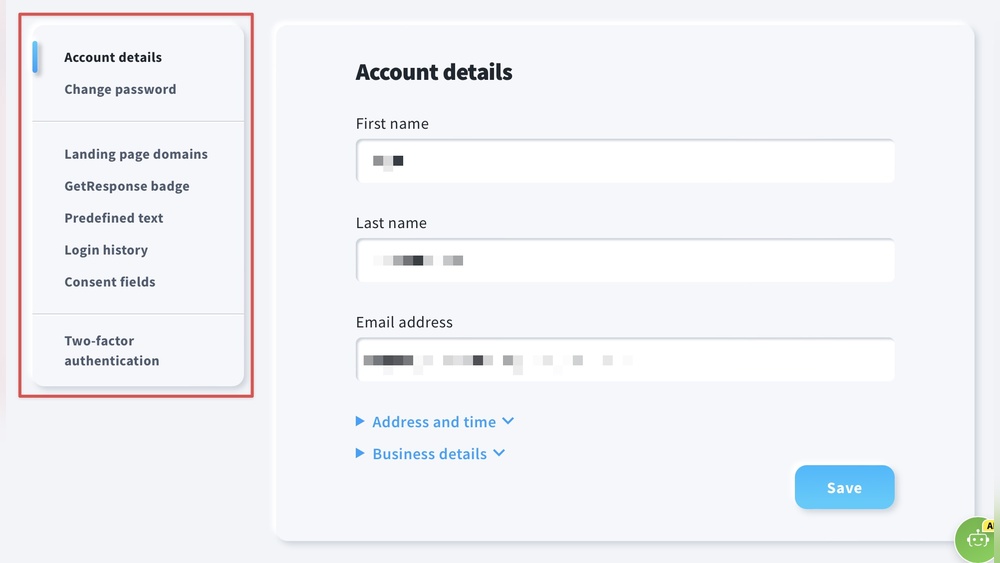
Accessing GetResponse webforms is the first step to obtaining the HTML code for your email list. This process lets you create or manage forms that collect subscriber information. These forms are essential for building your email marketing list effectively.
GetResponse provides an easy-to-use interface to handle webforms. You can choose an existing form or create a new one according to your needs. This section explains how to find and use the webforms menu.
Navigating To Webforms Menu
Log in to your GetResponse account. On the dashboard, locate the main menu on the left side. Click on “Forms and Surveys” to open the webforms section. This menu shows all your existing forms for easy management.
Using the webforms menu, you can quickly access any form you want to edit or use. This saves time and keeps your list organized.
Selecting Or Creating A New Webform
In the webforms section, you will see a list of your current forms. Click on any form to open its settings and get the HTML code. If no suitable form exists, click the “Create Form” button.
Choose a template or start from scratch. Customize the fields and design to match your brand. After saving, you can find the HTML code to embed on your website or landing page.
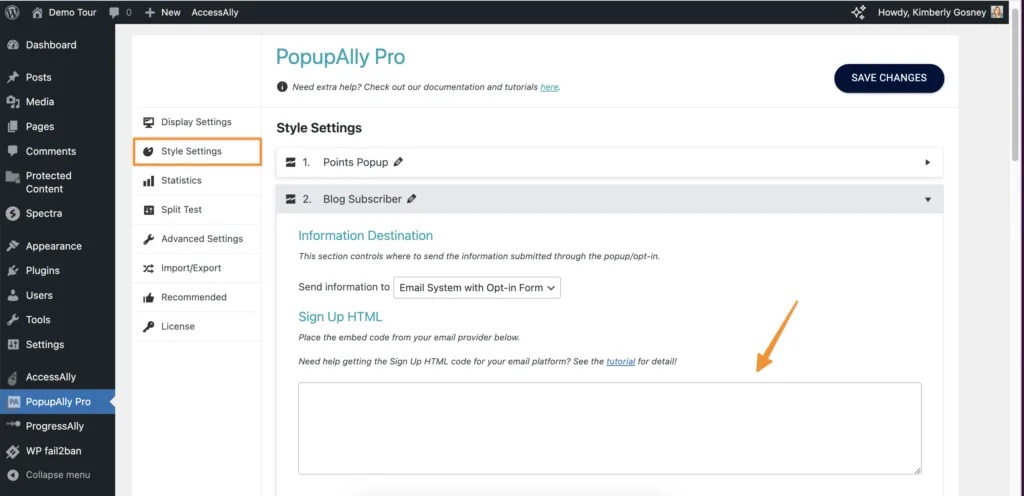
Credit: popupally.com
Locating The Html Code
Finding the HTML code for your GetResponse list is essential for embedding sign-up forms on your website. This code allows you to connect your site directly to your email marketing list. The process is straightforward and only takes a few steps. Below, you will learn how to locate the HTML code easily within your GetResponse account.
Opening The Plain Html Tab
Start by logging into your GetResponse account. Navigate to the “Forms and Surveys” section. Select the form linked to your list. Look for the option labeled “Plain HTML” or similar. This tab contains the raw HTML code you need.
Click on the “Plain HTML” tab to open it. The code will appear in a box you can copy. Ensure you select all the code to avoid missing parts.
Finding The Embed Code Option
After opening the form settings, find the “Embed Code” option. This is often located under publishing or sharing settings. The embed code is a snippet you place on your website.
Choose the embed code type that fits your needs, usually “HTML” or “JavaScript.” Copy the code carefully. Paste it into your website’s HTML where you want the form to appear.
Copying The Html Code
Copying the HTML code for your GetResponse list lets you add signup forms directly to your website. This process is simple and fast. It ensures your visitors can subscribe without leaving your page. The key is to find the correct code and copy it safely. Below are clear steps to help you get the HTML code easily.
Using The More Options Menu
Start by opening your GetResponse account and going to the list you want. Look for the “More Options” menu near the list settings. This menu holds extra features you need. Click it to reveal choices related to your list.
Inside this menu, find the option to get the HTML code. It might say “Get HTML code” or “Embed form”. Selecting this opens a window with the form code. This is the main source of the HTML you need.
Copying Code For Embedding
After the HTML code window opens, you will see a box with code inside. Click inside the box to highlight all the code. Press CTRL + C (or Command + C on Mac) to copy the code to your clipboard.
Make sure you copy the entire code. Missing parts can cause problems when you add it to your site. Once copied, you can paste the code into your website’s HTML editor or CMS custom code area. This allows your form to show up and work properly.
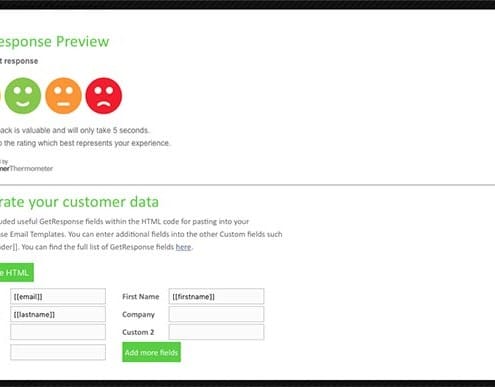
Credit: www.customerthermometer.com
Customizing The Html Code
Customizing the HTML code for your GetResponse list lets you tailor the signup form to fit your website style. It helps you make the form more user-friendly and visually appealing. By editing the form fields and adding custom styles, you control what visitors see and how they interact with your form.
These adjustments improve user experience and can increase your signups. The process requires basic understanding of HTML and CSS. Small changes in the code can make a big difference in appearance and functionality.
Editing Form Fields
To edit form fields, open the HTML code in a text editor. Locate the
Ensure each field has a unique name attribute for proper data capture. You can also adjust placeholder text to guide users. Remove fields that are not necessary to keep the form simple and easy to fill.
Adding Custom Styles
Custom styles make your form match your site design. Use CSS inside abackground-color: f0f0f0;.
You can style buttons, input fields, and labels for a polished look. Use CSS classes or IDs to target specific elements. Avoid clutter by keeping styles clean and consistent. This helps your form stand out without overwhelming visitors.
Embedding The Html Code
Embedding the HTML code for your GetResponse list lets you collect subscribers directly on your website. This process places a signup form where visitors can easily join your mailing list. Embedding is simple and requires only a few steps.
Once you get the HTML code from GetResponse, you add it to your site. This makes your form visible and functional. The code works on most website platforms and gives you control over the form’s look and placement.
Placing Code On Your Website
To place the HTML code, open your website editor or CMS. Find the page where you want the signup form. Switch to the HTML or code view of that page. Paste the GetResponse form code exactly where the form should appear.
Save or update the page to apply changes. Visit the page in a browser to check the form’s appearance. If needed, adjust the code or placement for better fit and style. This method works for WordPress, Wix, Squarespace, and other platforms supporting HTML.
Using Getresponse Custom Code Elements
GetResponse also offers custom code elements for its website builder and landing pages. Drag and drop the Custom Code block into your page layout. Then, paste the HTML code inside this block.
This method keeps your form organized within the page design. It also allows easy editing without switching to full code view. Custom code elements ensure your form stays responsive and matches your site’s style. Use this option if you build pages directly inside GetResponse.
Testing Your Embedded Form
Testing your embedded form is a key step before going live. It ensures your form looks right and works smoothly. A well-tested form improves user experience and boosts sign-ups. Take time to check every part of your form on your site. Look for any errors or display issues. Confirm the form collects data correctly and sends it to your GetResponse list.
Previewing The Form On Your Site
After embedding the HTML code, open your website in a browser. Check if the form appears where you placed it. Make sure it matches your site’s style and layout. Look for any broken elements or misalignments. Refresh the page several times to see consistent behavior. Use different devices or screen sizes to test responsiveness. This preview helps catch visual problems early.
Checking Form Functionality
Fill out the form with test information. Submit it and watch for confirmation messages. Verify if the data reaches your GetResponse list. You can log in to your GetResponse account to confirm. Test all form fields, including required ones and drop-downs. Check error messages by submitting incomplete forms. This step ensures the form works as intended and collects data correctly.
Exporting And Managing Lists
Managing your email lists in GetResponse is essential for effective marketing campaigns. Exporting and handling your contacts properly ensures you keep your data safe and usable. This section explains how to export your contacts and manage the exported HTML data.
Exporting Contacts From Getresponse
Start by logging into your GetResponse account. Navigate to the “Contacts” tab and select the list you want to export. Click on the “Export” option, usually found in the settings menu.
Choose the file format for export, such as CSV, XLSX, or XML. Name your export file clearly for easy identification. After confirming, GetResponse will prepare the file. Once ready, download the file to your computer.
Handling Exported Html Data
After export, you may receive HTML data if you use forms or other custom elements. Open the HTML file with a text editor like Notepad or Visual Studio Code. Review the code to ensure it contains the correct form fields and styles.
You can copy this HTML code and embed it on your website or landing pages. Make sure to test the form to confirm it submits data to your GetResponse list correctly. Editing HTML requires basic knowledge but allows full control over your signup forms.
Troubleshooting Common Issues
Troubleshooting common issues helps ensure your GetResponse list HTML code works smoothly. Problems can arise during display or submission. Understanding basic fixes saves time and frustration. This section covers key solutions to typical challenges.
Fixing Display Problems
Check the HTML code carefully for missing or extra tags. Even small errors affect how the form shows on your site. Make sure the form’s container has enough space to fit all elements. Sometimes CSS styles from your website block or hide parts of the form.
Clear your browser cache and reload the page to see recent changes. Test the form on different browsers to spot compatibility issues. Use the GetResponse preview tool to confirm the form looks right before publishing.
Resolving Submission Errors
Submission errors often happen due to incorrect form action URLs. Verify that the form’s action attribute points to the correct GetResponse endpoint. Ensure all required fields in the form have proper name attributes matching your GetResponse list settings.
Check for JavaScript conflicts on your webpage that may stop the form from submitting. Disable other scripts temporarily to test the form’s functionality. Review error messages shown after submission attempts for clues on what to fix.
Frequently Asked Questions
How Do I Get The Html Code?
Log into GetResponse, go to Webforms, create or select a form, then open the “Plain HTML” tab to get the HTML code.
How Do I Export A List From Getresponse?
To export a list from GetResponse, open Contacts, select your list, click Export, choose file format, then click Export file. Download the generated file.
How Do I Get The Html Code For An Email?
Open your email in Gmail, click the three-dot menu, then select “Show original. ” Scroll down to find the HTML code.
How Do I Create Html Code?
Open a text editor like Visual Studio Code. Start with ,,
, andtags. Add your content inside the body. Save the file with a .html extension to create HTML code.Conclusion
Getting the HTML code for your GetResponse list is simple and quick. Use the webforms menu to create and customize your form. Copy the plain HTML code to add it to your website easily. This method helps you collect subscribers without hassle.
Follow these steps to keep your email marketing running smoothly. Stay consistent and watch your list grow over time.