To create a website with Hostinger, sign up for an account and choose a hosting plan. Next, set up your domain and install a website builder.
Creating a website with Hostinger is simple and efficient. Hostinger offers various hosting plans to suit different needs, making it easy to get started. After signing up, you can choose from a range of domain names or use an existing one.
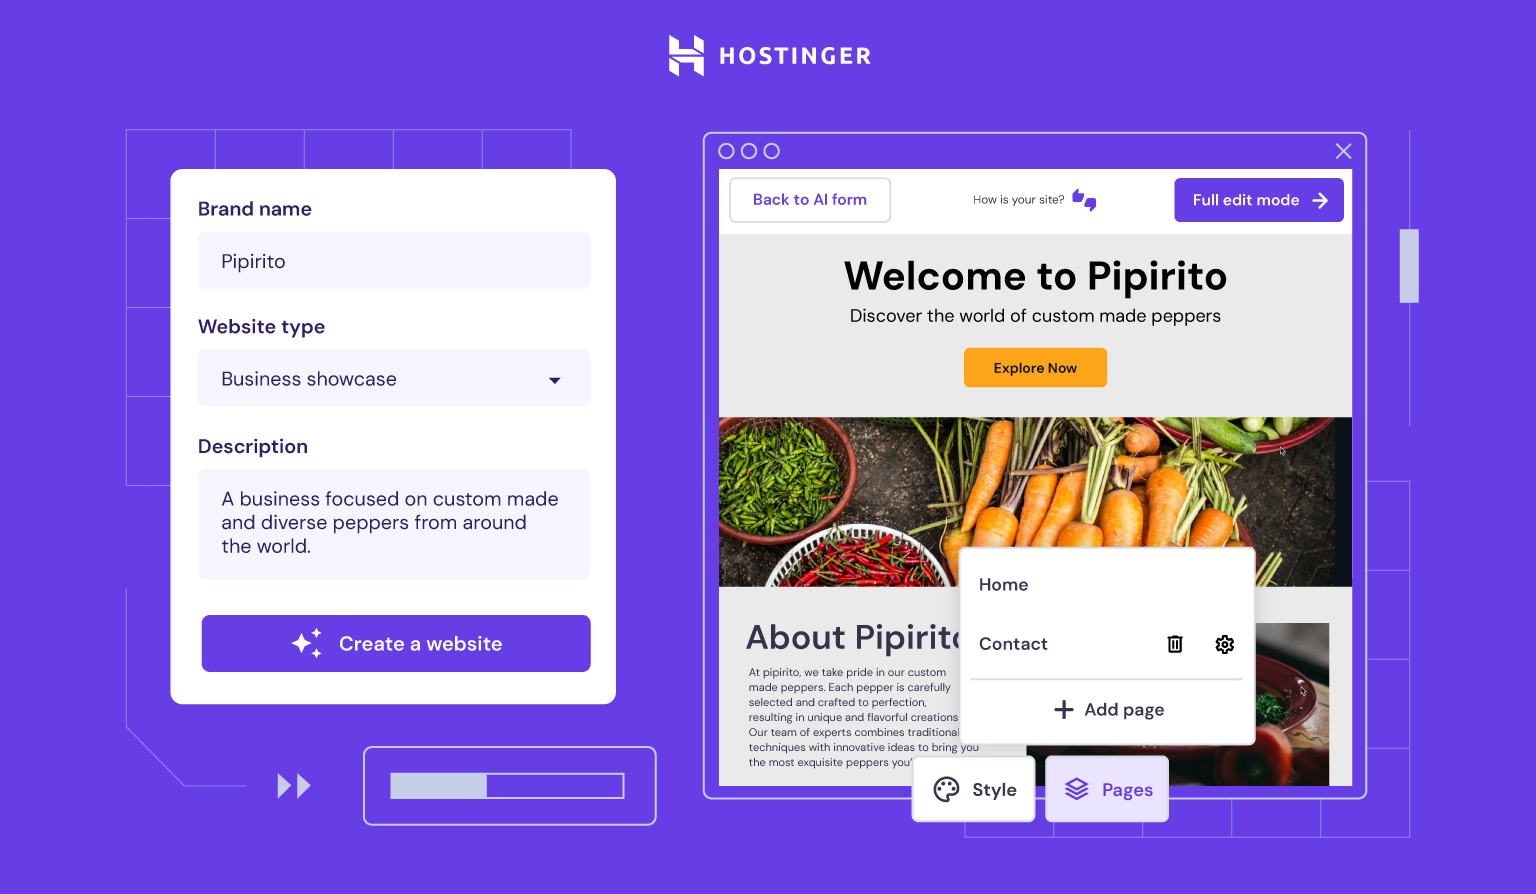
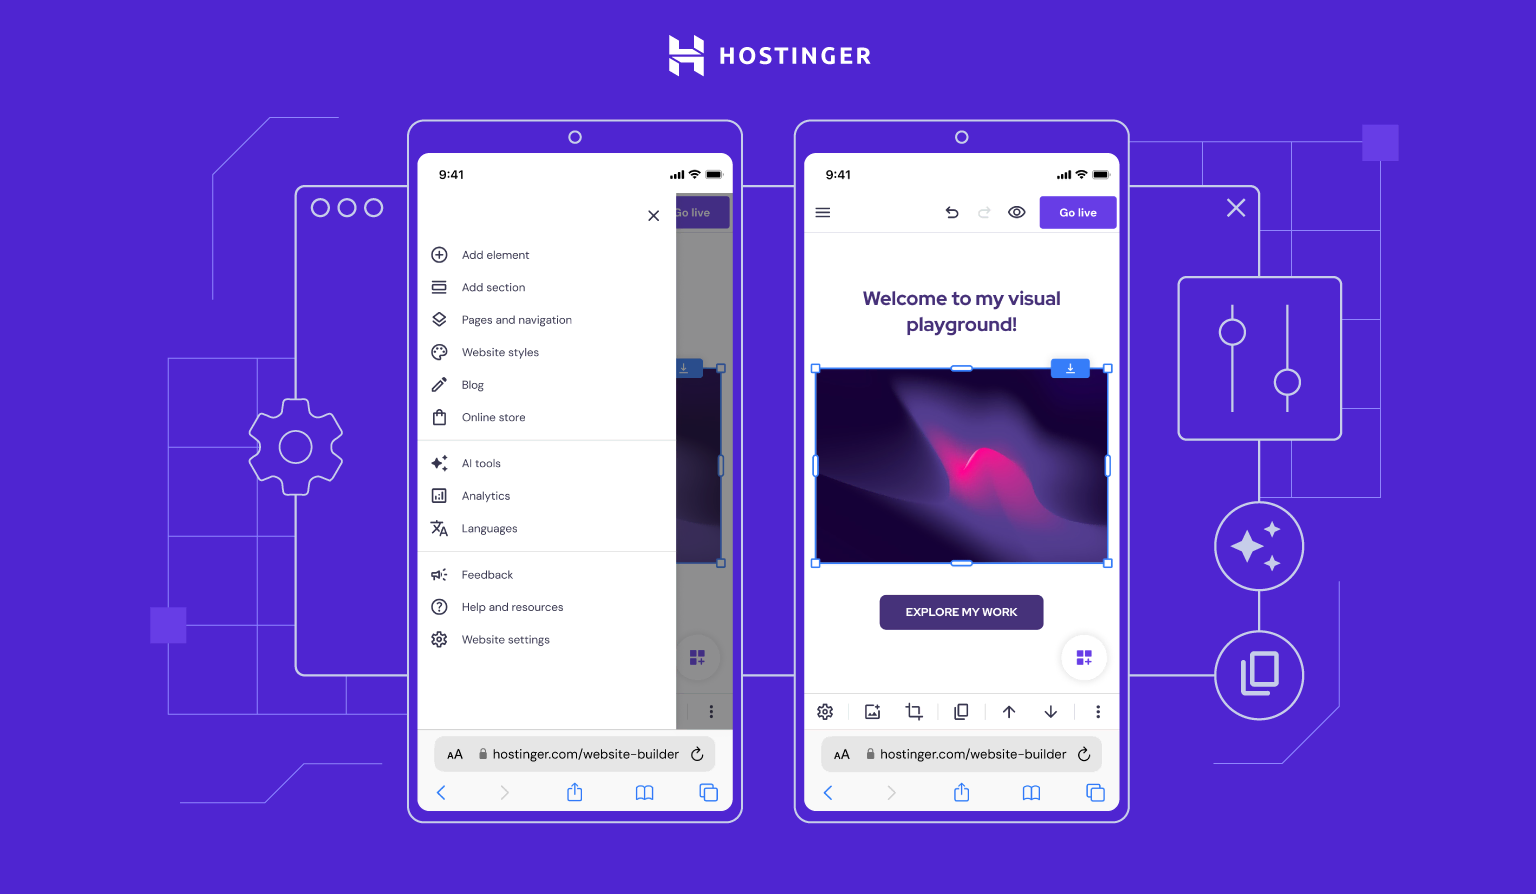
Hostinger’s user-friendly interface guides you through the setup process, ensuring a smooth experience. The platform includes a website builder with drag-and-drop functionality, enabling you to design your site without coding skills. Whether you’re building a blog, an online store, or a portfolio, Hostinger provides the tools needed to launch a professional-looking website quickly. Their customer support is also available 24/7 to assist with any issues.
Introduction To Hostinger
Creating a website has never been easier with Hostinger. This platform offers affordable and reliable hosting services. It’s perfect for beginners and experts alike. Hostinger provides a range of features to help you build a professional site.
Hostinger’s Features
Hostinger offers a variety of features to meet your website needs. Here are some key highlights:
- Free Domain: Get a free domain for your website.
- 1-Click Installer: Install WordPress and other CMS with one click.
- 99.9% Uptime Guarantee: Reliable and consistent server uptime.
- 24/7 Customer Support: Access help any time you need it.
- Unlimited Bandwidth: Handle large amounts of traffic with ease.
Benefits Of Using Hostinger
Using Hostinger comes with many benefits. Here are some reasons why you should choose Hostinger:
- Affordability: Hostinger offers some of the lowest prices in the industry.
- Ease of Use: The interface is user-friendly and easy to navigate.
- Speed: Fast loading times for your website.
- Security: Advanced security features to protect your site.
- Scalability: Easily upgrade your plan as your site grows.
Below is a table summarizing the key features and benefits:
| Feature | Benefit |
|---|---|
| Free Domain | Save on domain registration costs |
| 1-Click Installer | Quick and easy CMS installation |
| 99.9% Uptime Guarantee | Reliable website performance |
| 24/7 Customer Support | Help is always available |
| Unlimited Bandwidth | Handle large traffic volumes |

Credit: www.hostinger.com
Choosing A Domain Name
Creating a website with Hostinger starts with choosing a domain name. Your domain name is your website’s address on the internet. It should be easy to remember and relevant to your content. Let’s explore how to select the best domain name for your site.
Tips For Selecting A Domain
- Keep it Short: Short domain names are easier to remember.
- Use Keywords: Include keywords related to your content.
- Avoid Numbers and Hyphens: These can be confusing and hard to remember.
- Choose a Unique Name: Ensure it stands out and is brandable.
- Consider the Extension: Common extensions like .com are preferable.
Checking Domain Availability
After choosing a potential domain name, the next step is to check its availability. Hostinger offers a domain checker tool that makes this process simple. Follow these steps:
- Go to Hostinger’s domain checker tool.
- Enter your chosen domain name in the search bar.
- Click on the search button to see if the domain is available.
- If available, proceed to register it. If not, try alternative names.
Using the domain checker tool ensures you get a unique and available domain name. This is crucial for setting up your website quickly and efficiently.
Setting Up Your Hostinger Account
Creating a website with Hostinger is easy and fun. The first step is setting up your Hostinger account. This involves creating an account and selecting the right hosting plan.
Creating An Account
Creating an account with Hostinger is simple. Follow these steps to get started:
- Visit the Hostinger website.
- Click on the “Get Started” button.
- Enter your email address and create a password.
- Click on the “Sign Up” button.
After signing up, you’ll receive a confirmation email. Open the email and click on the link to verify your account. Now you’re ready to choose a hosting plan.
Selecting A Hosting Plan
Hostinger offers various hosting plans to suit different needs. Here is a quick guide to help you choose:
| Plan | Features | Best For |
|---|---|---|
| Single Shared Hosting | 1 Website, 30 GB SSD Storage, 1 Email Account | Beginners |
| Premium Shared Hosting | Unlimited Websites, 100 GB SSD Storage, Free Domain | Growing Websites |
| Business Shared Hosting | All Premium Features, Daily Backups, Free SSL | Business Websites |
To select a plan:
- Choose the plan that best fits your needs.
- Click on the “Select” button.
- Choose your billing cycle (monthly, yearly, etc.).
- Complete the payment process.
After selecting and paying for your plan, you can start building your website. Hostinger provides an easy-to-use control panel for managing your site.
Accessing The Hostinger Control Panel
Creating a website with Hostinger is simple. A vital step is accessing the Hostinger Control Panel. Here, you manage your website’s settings and features. It’s user-friendly and intuitive.
Navigating The Dashboard
After logging in, you’ll see the dashboard. This is your main hub. The dashboard contains all essential tools and options.
On the left, there is a sidebar. This sidebar has various sections like:
- Home
- Hosting
- Domains
- Website Builder
- File Manager
Each section serves a unique purpose. For example, the Hosting section lets you manage your hosting plans.
The top bar provides quick access to your account settings. You can also switch between different websites here.
Understanding Key Features
The Hostinger Control Panel has many features. Some of the key features include:
| Feature | Description |
|---|---|
| File Manager | Manage your website files directly from the dashboard. |
| Auto Installer | Install popular CMS like WordPress in a few clicks. |
| Domain Management | Register, transfer, and manage your domains easily. |
| Email Accounts | Create and manage professional email accounts. |
The File Manager allows you to upload, edit, and organize files. The Auto Installer simplifies installing WordPress or other CMS.
In the Domain Management section, you can handle all domain-related tasks. This includes registering new domains and transferring existing ones.
The Email Accounts feature helps you create professional email addresses. This adds credibility to your business.
Installing A Website Platform
Creating a website with Hostinger is easy. The first step is installing a website platform. A good website platform makes your site look great and work well. It also makes managing your content easy.
Why Choose WordPress
WordPress is a popular website platform. It powers over 40% of all websites. There are many reasons why WordPress is a favorite:
- It is free and open-source.
- There are thousands of themes and plugins.
- It is easy to use, even for beginners.
- It has a large community and support.
WordPress is a versatile choice. It works for blogs, business sites, and online stores.
One-click WordPress Installation
Hostinger makes installing WordPress simple. Use the One-Click Installation feature. Follow these steps:
- Log in to your Hostinger account.
- Go to the hPanel dashboard.
- Click on Website and then Auto Installer.
- Choose WordPress from the list.
- Fill in your site details like name, username, and password.
- Click Install and wait a few minutes.
Your WordPress site is now ready. You can start customizing it with themes and plugins.
Customizing Your Website
Customizing your website is a vital step in creating a unique online presence. Hostinger offers multiple tools to help you make your website stand out. Below are some key aspects to consider while customizing your website.
Choosing A Theme
The theme you choose impacts the look and feel of your site. Hostinger provides a variety of pre-designed themes that are easy to install. To select a theme:
- Login to your Hostinger dashboard.
- Navigate to the website builder section.
- Browse through the available themes.
- Click on the theme you like to preview it.
- Click ‘Install’ to apply the theme.
Ensure the theme aligns with your brand’s identity. A well-chosen theme can attract more visitors and keep them engaged.
Adding Essential Plugins
Plugins add functionality to your website without needing to code. Hostinger supports a wide range of essential plugins that enhance your site’s performance and user experience.
Here are some must-have plugins:
- SEO Plugins: Improve your site’s visibility on search engines.
- Security Plugins: Protect your site from malware and hackers.
- Analytics Plugins: Track your website’s performance and user behavior.
- Backup Plugins: Ensure your data is safe and can be restored easily.
To add a plugin:
- Go to your website’s dashboard.
- Click on the ‘Plugins’ tab.
- Search for the plugin you need.
- Click ‘Install’ and then ‘Activate’.
Choose plugins that are regularly updated and have good reviews. This ensures compatibility and reliability.
Creating Website Content
Creating website content is a crucial step in building your site. Your content should be engaging and valuable. It should keep visitors on your page and make them want to return.
Writing Engaging Content
Engaging content is key to a successful website. Write short, clear sentences. Use simple words that everyone understands. Break your text into small paragraphs. This makes it easier to read.
- Start with a catchy headline.
- Use bullet points for important details.
- Always include a call to action.
Use keywords in your text. This helps with SEO. Make sure your keywords sound natural. Do not overuse them.
Incorporating Multimedia
Multimedia makes your content more interesting. Add images, videos, and infographics to your pages. This helps to break up the text. It also makes your site more engaging.
| Type of Multimedia | Benefit |
|---|---|
| Images | Visual appeal |
| Videos | Engagement |
| Infographics | Information |
Optimize images for faster loading. Use alt text for each image. This helps search engines understand your images. Embed videos from platforms like YouTube. This saves your server resources.

Credit: www.youtube.com
Optimizing Your Website
Building a website with Hostinger is just the beginning. Optimizing your website can improve performance and visibility. Let’s dive into some key areas to focus on.
Seo Best Practices
Search Engine Optimization (SEO) is crucial for your website’s success. Follow these SEO best practices to make your site more visible:
- Use relevant keywords in your content.
- Ensure your titles are catchy and descriptive.
- Write meta descriptions for every page.
- Include alt text for all images.
- Create internal and external links.
- Update content regularly to keep it fresh.
Here’s a quick table summarizing the key points:
| SEO Tactic | Description |
|---|---|
| Keywords | Include relevant keywords in your content. |
| Titles | Use catchy and descriptive titles. |
| Meta Descriptions | Write meta descriptions for each page. |
| Alt Text | Add alt text to all images. |
| Links | Create internal and external links. |
| Update Content | Keep your content fresh and updated. |
Improving Site Speed
Site speed affects both user experience and SEO. Here are some tips to improve your site’s speed:
- Optimize images by compressing them.
- Use a content delivery network (CDN).
- Enable browser caching to speed up loading times.
- Minimize HTTP requests by reducing file sizes.
- Use a fast and reliable hosting service.
Implementing these tips can make your website faster and more efficient. A quick site keeps users happy and improves your search rankings.
Launching Your Website
Launching your website is an exciting step. You have worked hard to build it. Now it’s time to share it with the world. This guide will help you launch your website using Hostinger.
Pre-launch Checklist
Ensure your website is ready for visitors. Use this checklist to confirm:
- Content: Verify all content is accurate and free of errors.
- Design: Check the design on different devices and browsers.
- SEO: Optimize your site for search engines. Use keywords wisely.
- Links: Test all internal and external links.
- Forms: Ensure all forms are working correctly.
- Speed: Use tools to check your site’s loading speed.
Making Your Site Live
Now that your site is ready, let’s make it live:
- Login: Access your Hostinger account.
- Dashboard: Go to the control panel.
- Domain: Connect your domain to your website.
- Publish: Click the publish button to make your site live.
- Check: Visit your website to ensure it’s live.
Here is a quick reference table for the steps:
| Step | Action |
|---|---|
| 1 | Login to Hostinger |
| 2 | Access the control panel |
| 3 | Connect your domain |
| 4 | Click publish |
| 5 | Visit your website |
Follow these steps to launch your website successfully. Happy launching!
Credit: www.hostinger.com
Maintaining Your Website
Creating a website with Hostinger is just the beginning. After launching your site, it’s crucial to maintain it. Regular updates and monitoring can keep your site running smoothly.
Regular Updates
Regular updates are essential for keeping your website secure and functional. Outdated software can lead to vulnerabilities. Hostinger makes updating your website easy.
- Update your CMS (e.g., WordPress) regularly.
- Install plugin and theme updates promptly.
- Check for server software updates.
Always back up your website before making updates. This ensures you can restore it if something goes wrong.
Monitoring Performance
Monitoring your website’s performance helps you understand how well it’s working. Tools like Google Analytics and Hostinger’s built-in analytics can provide valuable insights.
| Metric | Description |
|---|---|
| Page Load Time | Time it takes for a page to fully load. |
| Bounce Rate | Percentage of visitors who leave after viewing one page. |
| Unique Visitors | Number of distinct individuals visiting your site. |
Keep an eye on these metrics to ensure your site performs well. If your site slows down, investigate potential causes such as large images or excessive plugins.
Frequently Asked Questions
Can I Make A Website With Hostinger?
Yes, you can create a website with Hostinger. They offer easy-to-use website building tools and hosting services.
How Much Does It Cost To Host A Website On Hostinger?
Hosting a website on Hostinger costs as low as $1. 99 per month. Prices vary based on plans and features.
Is Hostinger A Good Website Builder?
Yes, Hostinger is a good website builder. It offers user-friendly features, affordable pricing, and reliable performance. Ideal for beginners and small businesses.
Can I Upload My Own Website To Hostinger?
Yes, you can upload your own website to Hostinger. Use their File Manager or FTP for easy uploads.
Conclusion
Creating a website with Hostinger is simple and efficient. Their user-friendly interface and robust features make website building accessible. Follow the steps outlined to get your site online quickly. Hostinger’s reliable services ensure your website performs well. Start your online journey with Hostinger and watch your website flourish.